Setting Up Active Dirctory Lab With Proxmox
I am currently making my way through the Practical Ethical Hacking Course, and there is an active directory lab to be set up in the course. I could set up the windows server and clients on my main machine, but I’m pretty sure that my aging PC will be begging for a mercy kill. I have some even older hardware that I save from being e-waste that I can use for setting this up, and have my main machine not curse at me in binary.
Why Proxmox? Why not ESXI? Well I am a fan of using open source software when I can. Why? Licensing is easier to understand for the most part, and a lot of the content I normally consume for Linux has a ton of Proxmox tutorials and tweaks. I could of also used something like XCP-NG, but just flipped a coin and chose Proxmox.
Installing and Configuring Proxmox
Installing Proxmox is pretty much like any other operating system.First thing you want to do is head to the Proxmox and download the ISO image for Proxmox. Get a USB drive and use something like etcher to extract the ISO onto your USB drive. Go through the prompts and install the OS. Word of advice, set the IP to static. I tried using a DHCP reservation and the MAC can change causing a lot of unnecessary troubleshooting.
I went ahead and added the no-subscription sources, since this isn’t a production machine for a business and I don’t plan on getting a subscription. You can do this by editing your /etc/apt/sources.list file and adding deb http://download.proxmox.com/debian bullseye pve-no-subscription. You can replace bullseye with whatever version is in the other examples for Debian. Next comment out the line for the enterprise list if you plan on using the non-subscription portion. Edit the /etc/apt/sources.list.d/pve-enterprise.list and comment out the line. Once you have everything worked out I would upgrade all the packages that have been pulled from the repos. I also reboot after the update to get everything fresh and make sure there were no issues.
Creating Windows VM
Now that we have our type-1 hypervisor running lets get our Windows ISO’s so we can set up our Active Directory environment. I downloaded a copy of Windows Server 2019 and a copy of Windows 10 Enterprise. While you are download those also download a copy of the drivers to setup you can find that here.
The storage setup will be different for everyone, but the idea is the same. Highlight your node and expand it. You will see disk icons with the disks you have available. Highlight the disk, go to ISO’s, and if it is blank you can upload your images you downloaded.
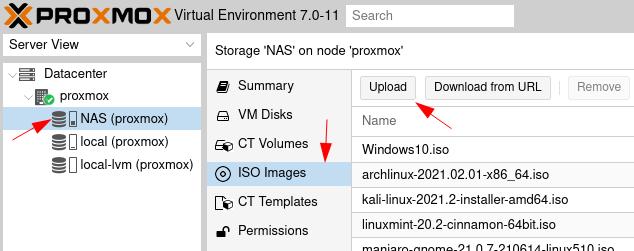
Once you have all your ISO’s uploaded we are ready to create our windows VM. On the top right of your screen you will see the Create VM icon or you can right click on your node.

I am going to start with the Windows Server image. After clicking on create VM. Populate the VM ID and Name. The VM ID will change the order on which it is displayed, so if you are particular about that keep that in mind.
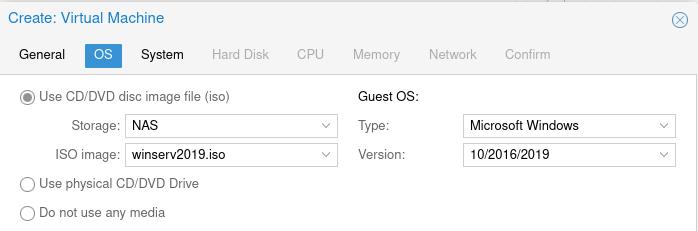
Click on the OS tab and select where you uploaded the ISO’s from earlier and select the ISO image. Also, pay attention to the Guest OS. Make sure it is Microsoft Windows, and the version matches.
Go to the system tab and the only thing you want to do is enable the Qemu agent. Everything else can stay default.
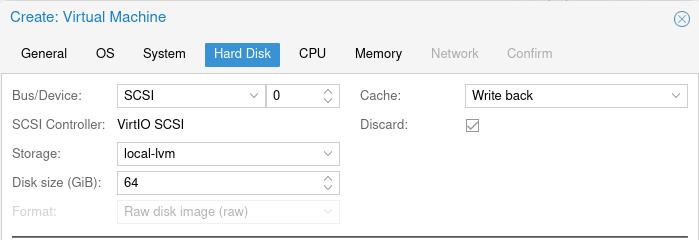
On the the hard disk tab. There will be a few changes here. First, change the Bus/Device to SCSI. Next, choose Write Back under the Cache tab, and enable discard. You want to make sure Storage is pointed towards the correct storage location and change the Disk Size to fit your needs.
The CPU and memory tab are completely up to the hardware you are running. The more you can spare the better, but I am running on slim margins here.
Lastly, go to the network tab and for Model choose the VirtIO (paravirtualized) option.
Review your settings under the confirm tab, but make sure Start after created is NOT clicked. We have some other things to do before we start this VM up.
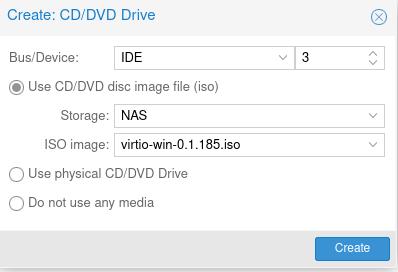
Remember that VirtIO image you downloaded earlier. This is where it comes in. After your VM is created click on it and go to Hardware. Click on Add and select CD/DVD drive. On the Bus/Device line leave IDE but change the ID to 3. Choose your storage device where the ISO is located and choose the ISO. Then click create.
Great! Now start the VM on the top right and click on Console. Go through the normal prompts for installing windows 2019 with desktop enviroment., and when it asks if you want to upgrade or custom choose custom. You will see a blank screen at first, so click load driver and browse. Navigate to the other CD drive, which is drive E: in my case, go to vioscsi. Click the 2k19 and select the amd64 folder. You will have a Red Had VirtIO SCSI driver click next and let it scan. After the scan, you should now see a drive with the size you specified earlier. Click next and finish installing Windows Server.
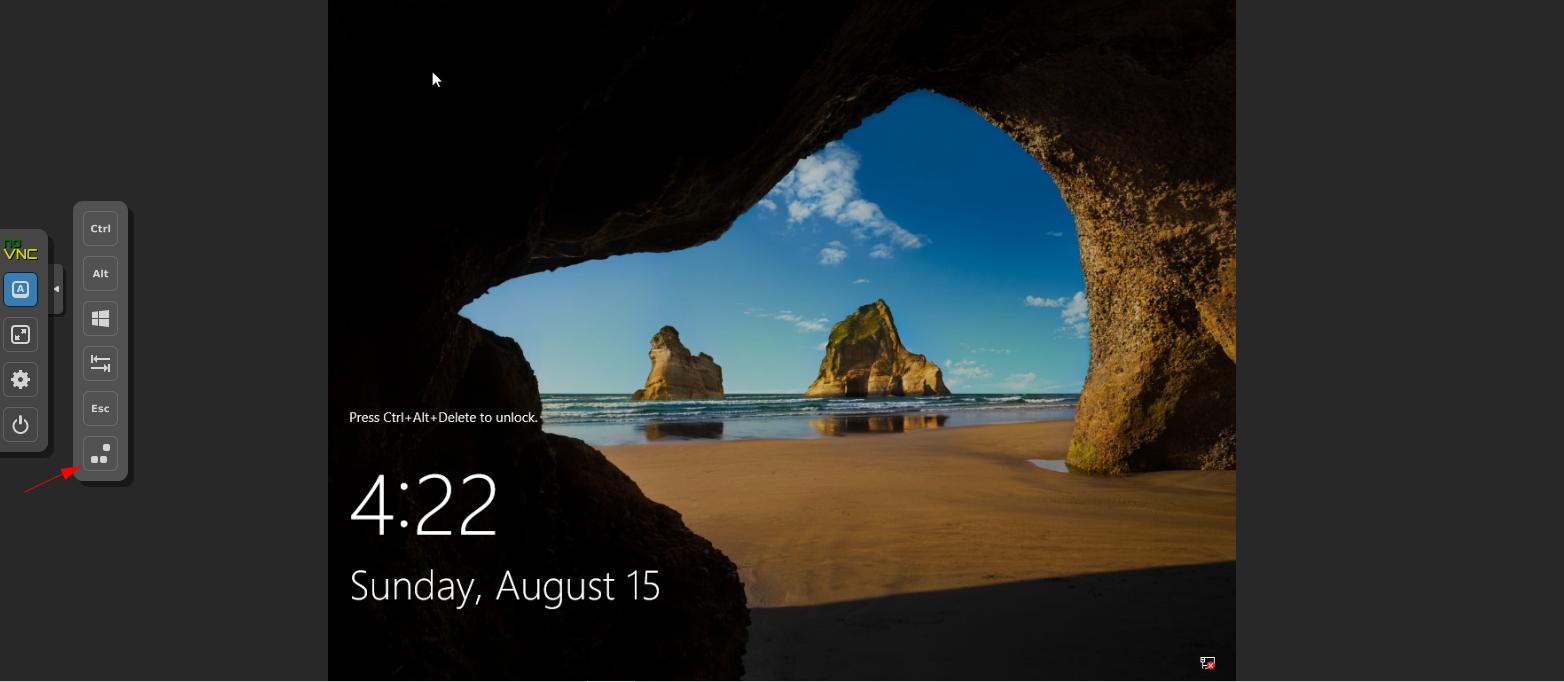
One thing to note with Proxmox, to send the Control Alt Delete command click the arrow halfway down on the left hand side in the Console Window to expand it. The first option that looks like a keycap with the letter A on it, click that. The very last option is that Control Alt Delete.
Log into your fresh installed Windows 2019, and lets get the rest of the drivers installed. Click on any of the Other Devices with yellow triangles, and use the Browse my computer option. Choose browse and there is no need to drill down into the folders. Make sure the CD Drive with the virtio image is highlighted and click ok. Make sure the include subfolders box is checked and click next. When prompted, choose install. Repeat this until all your drivers are installed.
The guest agent will be the last piece of software to install before you can dive in and set up your lab. Click on the file explorer icon on the bottom of the screen and click This PC. Go to your CD drive and find the guest-agent folder. Choose the 64 bit executable and let it install.
For your Windows 10 Enterprise go through the exact same setup process. The only exception is when you are choosing the SCSI driver choose w 10 folder.
Below are the Youtube videos that got me through this installation and blog post.