Hosting Your Own EBook Server
I didn’t know that Humble Bundle had book bundles that are DRM free and that proceeds from these bundles go towards charities. Just for anyone reading this and doesn’t know what DRM free is, you own these books. You do not need specific software to read them, and you do not need any additional money to access them. You download the books, and they are part of your library. Great! A couple of bundles bundles later I was thinking what was the best way to catalog these and create an actual digital library.
I came across Ubooquity on a YouTube Video. This is perfect! A central library that I can host on my own, or use a cloud service, and bring some of the same features I have learned to enjoy from readers like the kindle reader. Ubooquity will remember where you left off reading, give you the ability to download the book directly, and supports multiple e-book standards.
How to host it? I have a Raspberry Pi running some docker containers. Let’s see if that is an option. Low and behold, thanks to Linux Server I found a docker container that supports ARM, so that supports my Raspberry Pi. It also has a docker-compose file that I can alter and make this work.
Deploying the Docker Container
Using Docker-Compose will pretty much do everything for us as long as we set it up right.
---
version: "2.1"
services:
  ubooquity:
    image: ghcr.io/linuxserver/ubooquity
    container_name: ubooquity
    environment:
      - PUID=1000
      - PGID=1000
      - TZ=Asia/Seoul
      - MAXMEM=1024
    volumes:
      - /media/usbdrive/NAS/Backup/uboquity:/config
      - /media/usbdrive/NAS/Books:/books
    ports:
      - 2202:2202
      - 2203:2203
    restart: unless-stopped
I’ll break some of the things I customized from the example given by Linux Server.
- The
- TZ=Asia/Seoulshould reflect where you are in the world. It is similar to how you choose your timezone when setting up an operating system. - I put the max memory to 1GB since I am running this on a Raspberry Pi
- MAXMEM=1024 - For file persistence and to save the config and files is where you want to do
volumes:
      - /media/usbdrive/NAS/Backup/uboquity:/config
      - /media/usbdrive/NAS/Books:/books
The format to keep in mind is you begin with where you want it stored on your local system then : where it is on the container.
The ports are similar to how you map your volumes. It goes host:container. I wasn’t using 2202 or 2203 for anything else, so I left it alone.
I saved this file as docker-compose.yml and always make sure you’re in the same directory as your yml file when trying to use docker-compose.
docker-compose up -d
Accessing Your Website
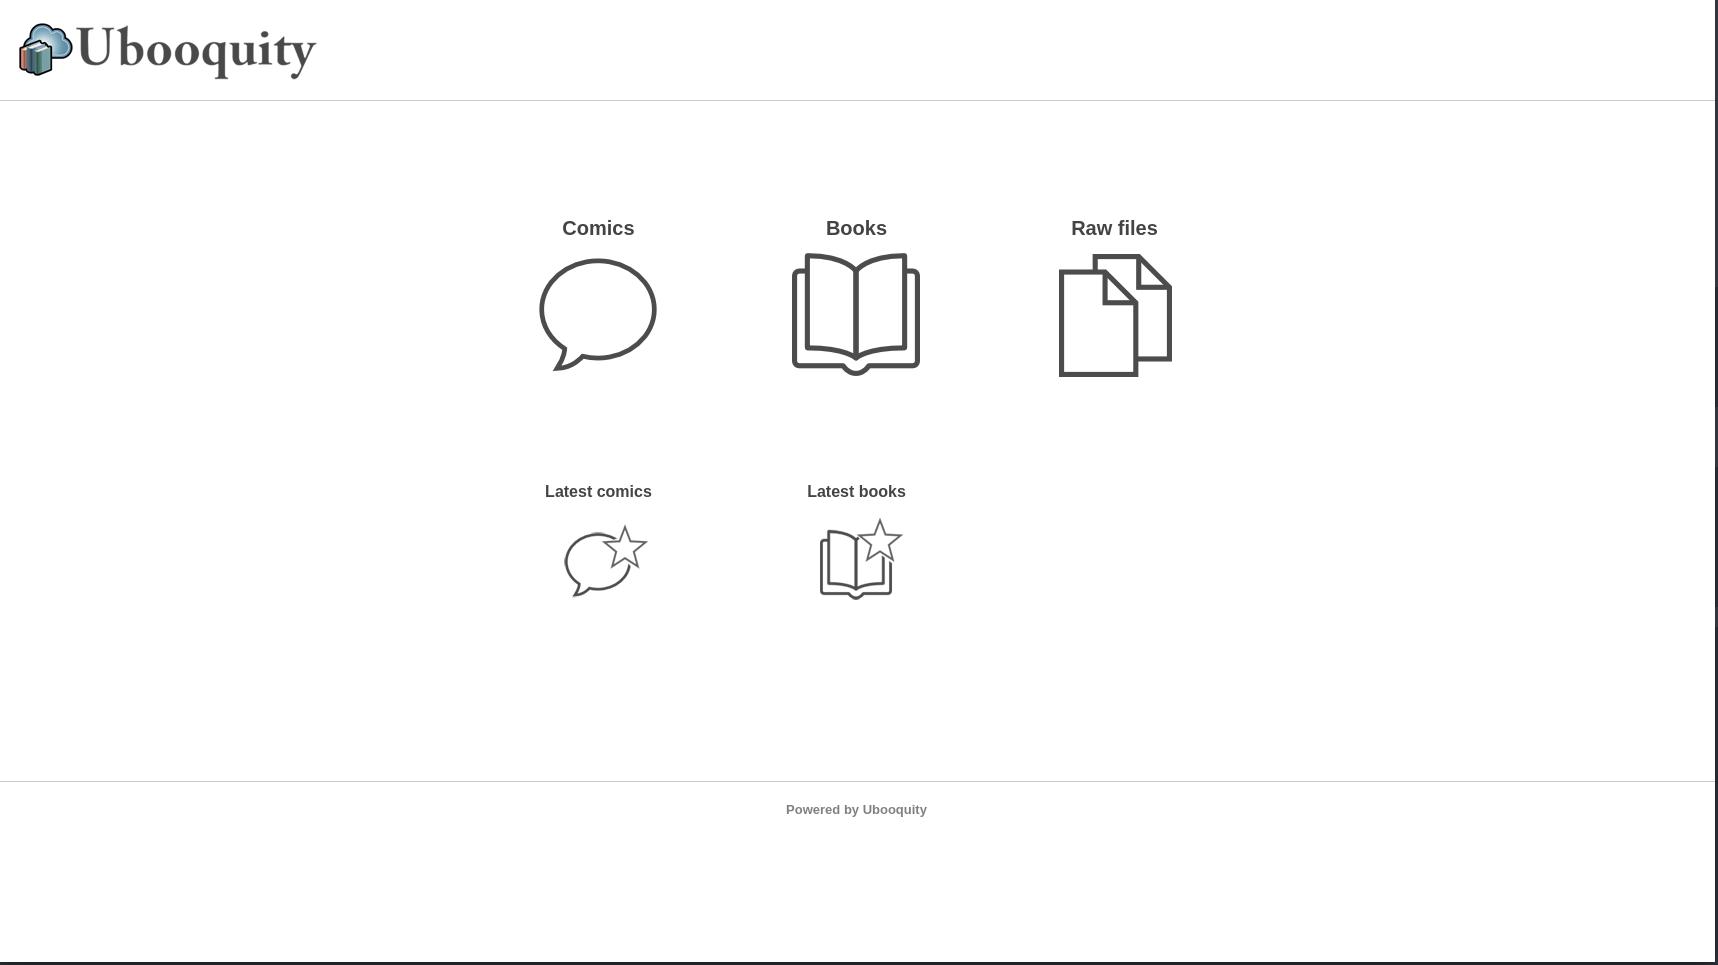
Now that you have the container up and running you can check to see if it is running. Go to http://ip:2202/ubooquity. This is the port you set in the docker compose file. You should see
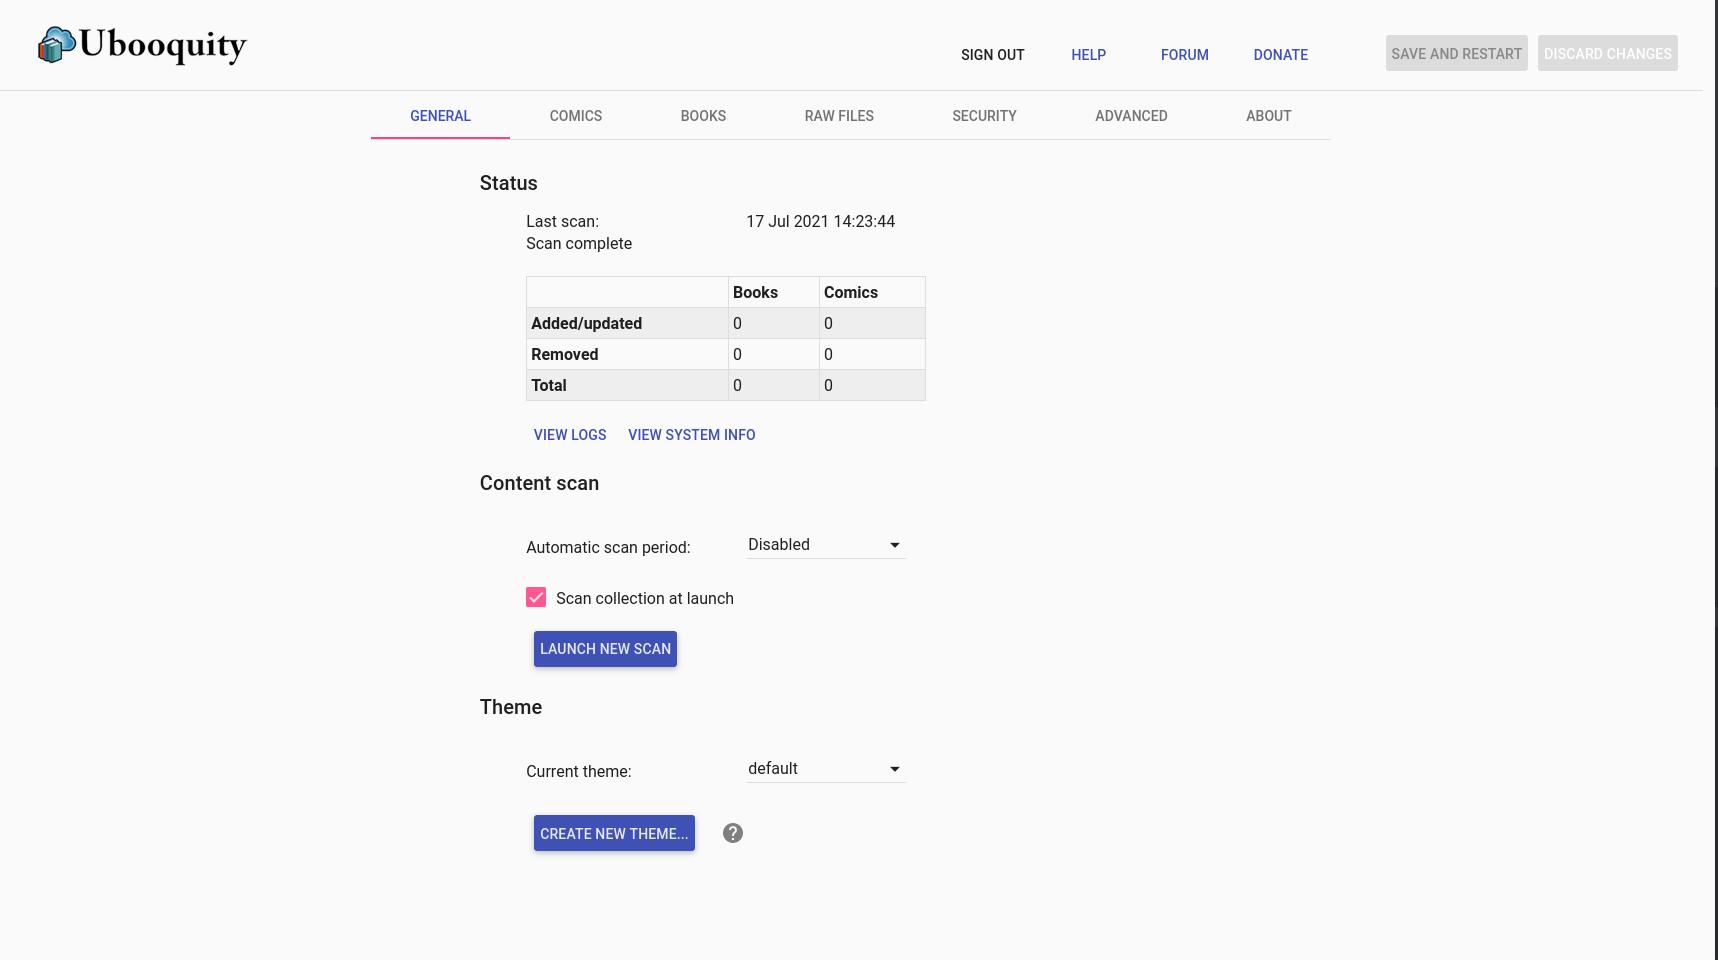
You can navigate around, but I would suggest heading to the admin page and set that up. Go to http://ip:2203/ubooquity/admin. This should take you to a website like this.

Set the admin passwords, and you’re in the admin portion. I mainly use this for setting the scan times or launching a new scan to build the actual library.
Great! Now we have everything set up, but there is nothing in there. Remember that portion of the docker-compose file under volumes. You want to copy your e-book collection to the directory you defined earlier. In the example below my books are saved to /media/usbdrive/NAS/Books. Once you have your collection there, go back to your admin page and launch a scan.
That’s it! You now have access to your all of your books through a web browser. I hope you enjoyed this article, and I hope you support humble bundle that gives proceeds to charities with their bundles.